|
|
– Thick
plasticard or Masonite hardboard
– A bunch of small and large
plastic shields
– Miscellaneous cool bitz
for wreckage
– Coarse and fine sand
– White (PVA) glue and super
glue
– A large, old brush and
a paper cup
– Pencil and steel ruler
– Clippers, hobby knife,
and cutting surface
– Container for basing purposes |
|
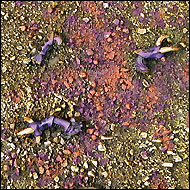
Minefields are treacherous places for any infantryman
to traverse. Each step can prove fatal. A favorite
defensive measure throughout the millennia, minefields
are an effective method to deny the enemy fields
of movement.
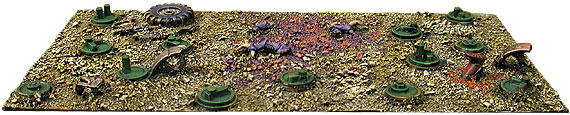
Above, you can see a finished
minefield that we built with the simplest and
most common of items. If you follow this guide,
you too can make a minefield that you'll be
proud to put on the tabletop.
Before starting, you'll
need to gather some supplies and tools to build
your minefields. Don't worry if you are missing
a few things because you can always try to improvise.
|
|
|
|
|
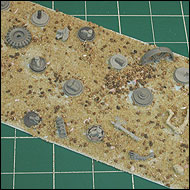
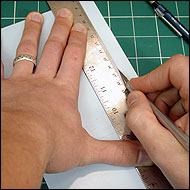
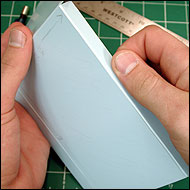
First, you'll need to cut out an
8"x4" rectangle (or a more
amorphous shape at roughly that size)
from your sheet of base material –
these dimensions form the standard minefield
size per the rules.
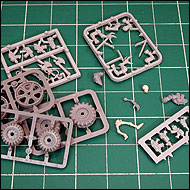
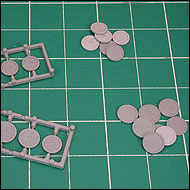
Small plastic shields do the trick
as landmines quite nicely. Nearly every
model in the Warhammer range comes packaged
with a shield of some sort, and they
are readily available from Mail Order
on the cheap, too. Grab a hand full
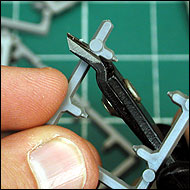
of 'em if you can. Now, clip about 12
small round shields off their sprues
and set them aside in a pile. These
small round shields will form the top
of our landmines. Next, clip 12 large
round shields off their sprues, but
ONLY take the larger three shields from
the sprue. You'll see that three of
the shields are larger than the rest
– you'll want to use these as
the base for our landmines. Place these
large shields in a separate pile from
the smaller shields. After you have
gathered these bitz, put the left over
sprue trees to the side – you'll
need them later.
|
|
|
|
|
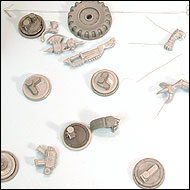
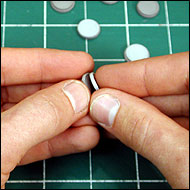
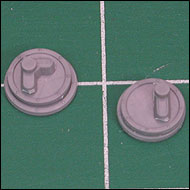
Now, trim any
funky mold lines from the rims of all
the shields and get ready to glue. All
you have to do is use either super glue
or plastic glue to affix the small shields
to the large shields to create a sandwich...which
is our landmine! At this point, you
need to fire up your hobby factory and
begin mass producing some landmines.
About 12 mines per minefield section
is about right, but feel free to make
more or less as a matter of preference.
Once the smoke clears, you'll have a
pile of explosive landmines. However,
you may wish to add some more detail
to your mines.
You kept those
sprue frames from the shields, right?
Good. Gather them up and prepare to
mutilate them! If you noticed, there
are some raised cylinders along the
sprues. You can clip these off and glue
them on the top off a plain landmine
to create an extra bit of detail. Also,
clip off some of the weird shapes found
at the joints and curves, as they are
great for detail as well. Once you glue
a few of these pieces down, your mines
will have a more complex feel.
|
|

|
|
|
|
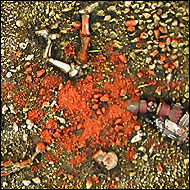
Remember, when painting your minefield,
it doesn't hurt to add some gore!
|
|
|
|

|
|